
All lines
Above-ground
Drip irrigation

Underground

Online catalogue
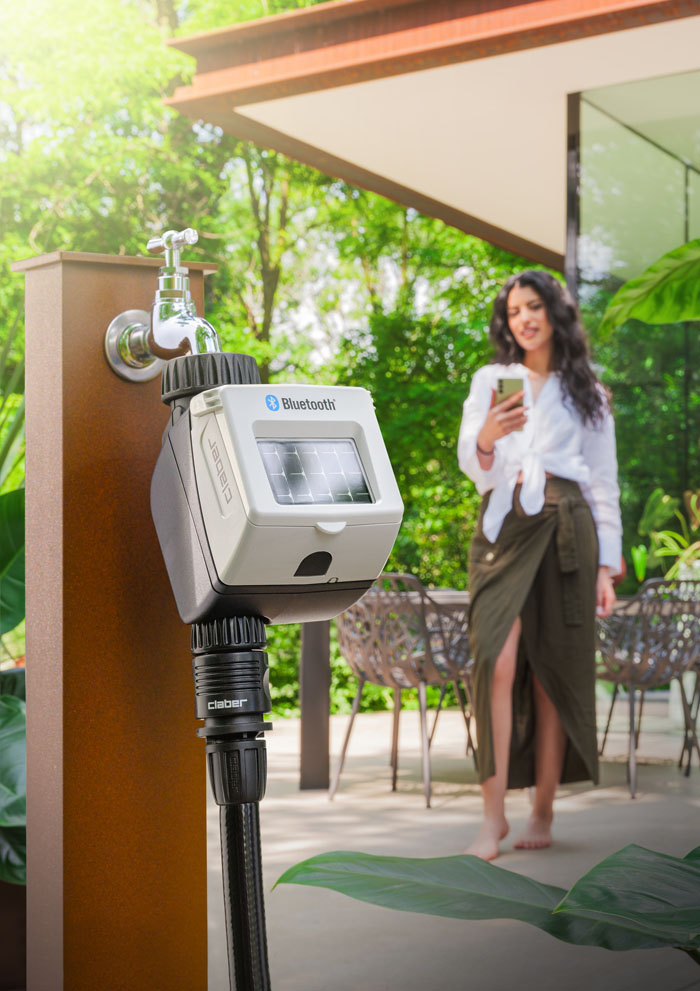


The Rain Sensor avoids wasting water by suspending sprinkler start-up in the event of rain.
Install the Rain Sensor in an area exposed to rainfall, away from the sprinkler jets, and at least 2 m above the ground.
1) Top cover
2) Internal floater
3) Container
4) Fastening bracket
5) Bracket fastening screws
6) Battery status led
7) Battery holder
8) Battery housing cover
9) Aerial
In order for the sensor to operate correctly, position the floater inside the container with the special fins facing upwards and the orange base facing downwards. The top cover must be kept closed to prevent any foliage or impurities from entering the sensor which would compromise the Rain Sensor operation.
When the Rain Sensor container is full (at least 5 mm of rainfall), it sends a stop signal to all paired RF units (RF programmable solenoid valve, RF control unit, RF Hydro-4), Hydro-4 and all timers on the Tempo and Dual lines with an RF interface. Watering will not stop immediately but over about 5-10 minutes. Once the water has evaporated, the Rain Sensor will send a signal to resume watering.
Press the tab firmly and pull downwards.
Remove the battery holder and insert 2 new non-rechargeable alkaline 1.5 V AA batteries, matching up the poles.
Replace the battery holder in the housing and refit the cover.
When the LED flashes red the batteries are running out; replace them as soon as possible.
Once installed, the Rain Sensor RF is ready to be used with all the timers in the Dual and Tempo range (code 8483, 8485, 8486, 8487, 8488 if interface 8480 has previously been entered) or with the Hydro-4 (code 90829).
Position the Rain Sensor RF a minimum of 1 m and maximum of 30 m away from the timer (with no obstacles).
Once installed, the Rain Sensor RF is ready to be used with the RF Unit (code 8321, 8323, 90839), via the remote control (code 8347, 8348).
Position the Rain Sensor RF a minimum of 1 m and maximum of 30 m away from the timer (with no obstacles).


