All lines
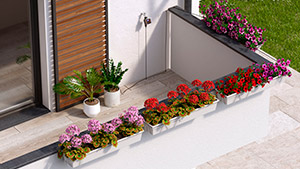
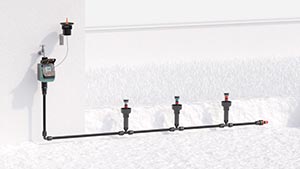
Above-ground
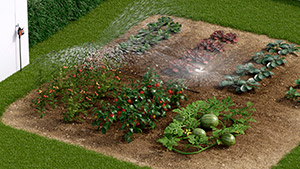
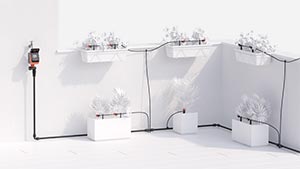
Drip irrigation

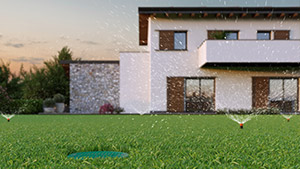
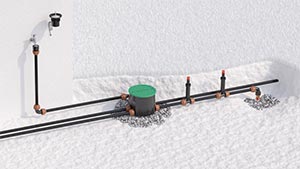
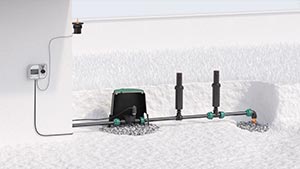
Underground
Online catalogue
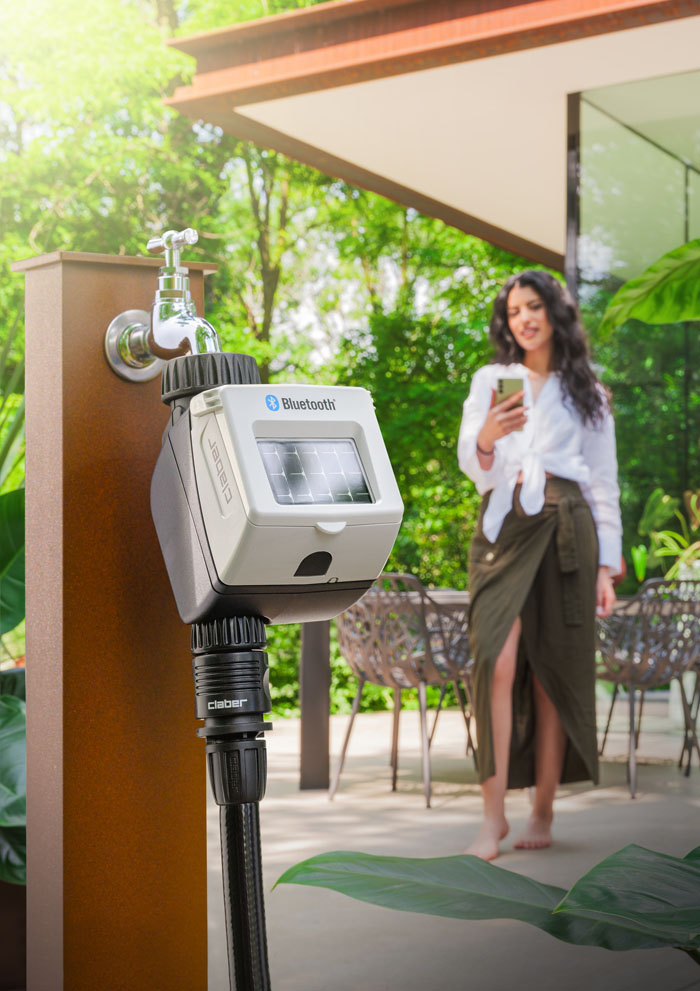
Do not install the water timer inside valve boxes, below ground level or indoors. Do not use the water timer with chemicals or liquids other than water. Do not use the water timer with operating pressures lower than 0.5 bar (7.3 psi) or higher than 10 bar (145 psi).
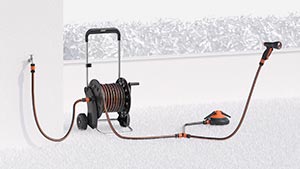
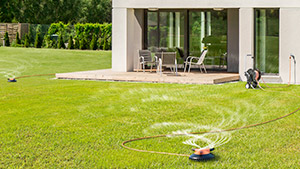
Connect the timer to the tap.
Connect the hose on the watering line.
Press the two side buttons to open the timer.
Insert a new, branded 9V type 6LR61 alkaline battery with an expiry date more than a year away.
Replace the battery at the beginning of each season.
Warning: make sure the connector is inserted.
Important: remember to turn on the water tap.
When the battery is completely flat, the water timer automatically stops its functions and closes the valve. Never replace the battery during irrigation, otherwise the water will continue to flow at the end of the cycle.
After connecting the battery, the timer must be reprogrammed; otherwise it considers the moment the batteries are inserted as the start time of the first irrigation cycle, followed by the other cycles according to the set programme. If you want the first irrigation cycle to run at a different time, set the dial to OFF and repeat programming.
Aquauno Mist can be used in two ways: micro-nebulisation or drip-irrigation.
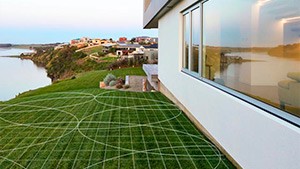
Micro-nebulisation: the timer allows you to refresh a space using time and frequency settings specially designed and highlighted in blue on the panel. The selectable watering time and frequencies are factory set and cannot be changed.
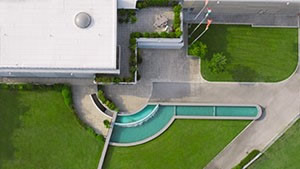
Drip irrigation: the timer can be used for drip irrigation. The recommended times and frequencies for this type of irrigation are shown in yellow on the timer panel. The selectable watering time and frequencies are factory set and cannot be changed.
The indicator LED on the timer provides important information:
flashing quickly
the water timer is being programmed
flashing slowly
the water timer is waiting to water or is watering
red flash
battery flat. Replace as soon as possible
led off
1) the battery is completely flat
2) setting has not been completed (only the "min/sec" selector is set (run time): the timer will not water automatically until setting has been completed
3) the "FREQUENCY" selector is set to "5m" (manual) and manual watering has already finished: the timer will not water automatically until it is programmed again
4) the colours of the run time and frequency settings do not match up (e.g. the “min/sec” dial is set to 2, 60 or 90 – yellow, and the “FREQUENCY” dial is set to a blue frequency): the timer will not run an automatic watering cycle until it is programmed correctly
5) il programmatore è in OFF.
The recommended times and frequencies for this type of setting are shown in blue on the timer panel.
The run time can be set to 5-10-15-20-30-45 seconds and the frequency to every 1-3-5-10 minutes.
At the time you want the timer to activate, set the RUN TIME by turning the “min/sec” selector dial to the desired preset time (e.g. 20 seconds).
Set the FREQUENCY by turning the "FREQUENCY" selector (e.g. 3 minutes).
Note: the timer will not irrigate automatically until the watering frequency is set.
Setting is complete, the LED flashes quickly for a few seconds, then slowly. After being programmed, it activates immediately and repeats according to the set frequency.
If the colours of the selected settings do not match up, the programming is considered invalid (e.g. if the “min/sec” dial is set to 2, 60 or 90 – yellow, and the “FREQUENCY” dial is set to a blue frequency). The LED will flash slowly once and then three times quickly before switching off.
The recommended times and frequencies for this type of irrigation are shown in yellow on the timer panel.
The watering run time can be set to 2-5-10-15-20-30-45-60-90 minutes and the frequency to every 12-24-48 hours.
At the time you want the timer to activate, set the RUN TIME by turning the “min/sec” selector dial to the desired preset time (e.g. 60 minutes).
Set the FREQUENCY by turning the "FREQUENCY" selector (e.g. 48 hours).
Note: the timer will not irrigate automatically until the watering frequency is set.
Setting is complete, the LED flashes quickly for a few seconds, then slowly. After being programmed, irrigation begins immediately and repeats according to the set frequency.
If the colours of the selected settings do not match up, the programming is considered invalid (e.g. if the “min/sec” dial is set to 2, 60 or 90 – yellow, and the “FREQUENCY” dial is set to a blue frequency). The LED will flash slowly once and then three times quickly before switching off.
Starting from when the timer was set, or from when the battery was inserted (if the “FREQUENCY” selector is not set to OFF), the first irrigation cycle will begin immediately and subsequent cycles will begin after the number of hours or minutes set using the “FREQUENCY” selector.
If the timer is set (i.e. the RUN TIME and FREQUENCY are set) at 20:00 and the “FREQUENCY” selector is set to “12h”, the first irrigation cycle will begin immediately after programming (i.e. at 20:00) and subsequent irrigation cycles will start at 8:00 and 20:00 on the following day, and so on.
If the timer is set at 20:00, the “FREQUENCY” selector dial is set to “1m” and the “min/sec” selector dial (run time) is set to “45 seconds”, the first cycle will begin immediately after programming (i.e. at 20:00 for 45 seconds) and the next one will start at 20:01 with only a 15-second pause after the previous cycle.
If an extra watering cycle is required during the wait between one programmed cycle and the next (at 19:00 hours, for example), a manual watering cycle of 5 minutes can be activated.
Observe and remember the current position of the "FREQUENCY" selector, so that the previous settings of the timer can be restored at the end of the manual watering cycle (e.g. 12h).
Turn the "FREQUENCY" selector to the "5 MIN " position.
There is no need to set the "min/sec" selector as the duration of the manual watering cycle is factory set and cannot be changed.
A watering cycle of 5 minutes watering time will start immediately.
It is not possible to extend the duration of a manual cycle (the time lapse of 5 minutes is factory set); the flow can however be terminated before the end of the five minutes by returning the "FREQUENCY" selector to its starting position.
If, at the end of a manual irrigation session, you turn the FREQUENCY dial to the start position (e.g. 12 hours), the previous programming will be retained in the memory: watering sessions will start up at the usual times.
Whilst turning to go back to the previous frequency, do not stop for more than 3 seconds on another frequency, otherwise it will be considered as a new programming instruction.
If, at the end of a manual irrigation session, the FREQUENCY dial is turned to a new frequency (e.g. 24 hours), the previous programming will NOT be retained in the memory.
A watering cycle starts immediately, for the selected watering time and subsequent cycles will then start following the number of hours programmed with the "FREQUENCY" selector.
If the "FREQUENCY" selector remains in the "5 MIN" position, the watering cycles programmed previously will not take place (status indicated by the LED, which stays dark).
Changing the start time and/or the frequency.
Wait for the new time at which you want watering to begin (for example 22:00). Set the "FREQUENCY" selector to "OFF" and wait for the LED to switch off.
Set the "FREQUENCY" selector to the frequency required (e.g. 12 hours).
After reprogramming watering will begin with the set run time, the next watering cycles will begin after the number of hours or minutes set using the "FREQUENCY" selector.
If the colours of the selected settings do not match up, the programming is considered invalid (e.g. if the “min/sec” dial is set to 2, 60 or 90 – yellow, and the “FREQUENCY” dial is set to a blue frequency).
Change the run time.
From the current setting (e.g. frequency 1 minute and run time 45 seconds), reduce or increase the set time by turning the “min/sec” dial (run time).
If the operation is carried out while an irrigation cycle is running, the cycle time is shortened or stops (if the set time is reduced) or is extended (if the set time is increased) with immediate effect.
Case 1: 5 seconds have passed since the watering cycle was started and the “min/sec” dial is turned to 15sec. The timer will stop irrigating after a further 10 seconds.
Case 2: 20 seconds have passed since the watering cycle was started and the “min/sec” dial is turned to 15sec. The timer will stop irrigating immediately.
If the watering run time has been changed, make sure that the colour of the setting matches the colour of the frequency set.
To pause an irrigation session in progress or yet to start, turn the FREQUENCY dial to OFF. Programming will then have to be reset.
Clean the filter at the end of each season and check it regularly.
Turn off the water tap and loosen the screw collar, turning anticlockwise.
Loosen the 3/4" screw collar of the tap connector, turning clockwise.
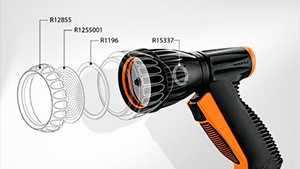
Remove the filter. Rinse the filter clean under running water. After washing, reassemble all parts as before.
To clean the internal components properly, please see the
diagram showing the mechanical parts to be disassembled/ reassembled at the end of the season
.
At the end of the season, before the winter frosts, disconnect the timer from the tap.
Remove the battery.
Store the timer in a sheltered place, away from damp, where the temperature does not fall below 3°C.